NBI Appointment 2026
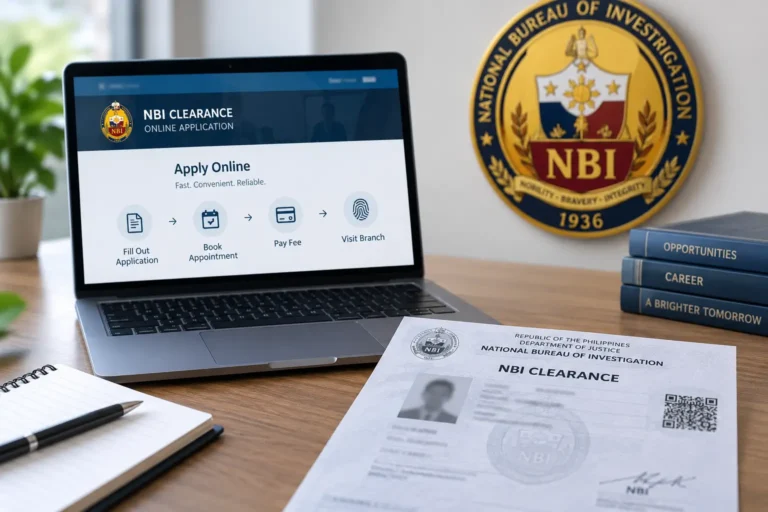
Once you start your NBI Clearance application after registering your account, the next step is to choose a clearance center, date, and time for your visit. At the branch, you’ll give your fingerprints, take your photo, and verify your identity
You can choose an available branch and schedule through the official online system. Before heading to the branch, make sure your application is complete and your payment has been made.
How to Book an NBI Appointment Online
You can choose your appointment while completing your NBI Clearance application. Once your applicant information is complete, you can select the branch, date, and time for your visit.
1. Log In to Your NBI Clearance Account
Go to the official NBI Clearance portal and log in to your account.
If you haven’t started your application yet, register first and complete your applicant information.
→ NBI Online Registration Guide
→ NBI Clearance Application Guide
2. Choose a Clearance Center
Select the NBI Clearance Center where you want to visit for your appointment.
Choose a location that is convenient for you because your photo, fingerprints, and electronic signature will be taken there.
You can use the official Clearance Office Locator to find a center and check its location.
→ Find an NBI Clearance Center
3. Select an Available Date and Time
After choosing your branch, select an available date and time for your appointment.
Before confirming, check these details carefully:
- Clearance center
- Appointment date
- Time slot
- Applicant information
If your preferred branch does not have a suitable time, you can check other available clearance centers and choose a different one.
4. Confirm Your Appointment Details
Before you complete the transaction, review your appointment details carefully.
Make sure the selected branch, date, and time are correct and that you can visit on your chosen date easily.
After confirming your appointment, keep your transaction details for your records.
5. Complete the Required Payment
After choosing your appointment, complete the payment. You can pay using one of the available options, GCash, Maya, 7-Eleven, Bayad Center, or online banking.
Once the payment is set up, you’ll receive a Reference Number for the transaction.
Save your Reference Number and payment confirmation. You may need them later during the application process.
→ NBI Clearance Fee & Payment Guide
→ How to Pay NBI Clearance Using GCash
What to Bring to Your NBI Appointment
Your branch visit is the part of the application that you need to complete in person.
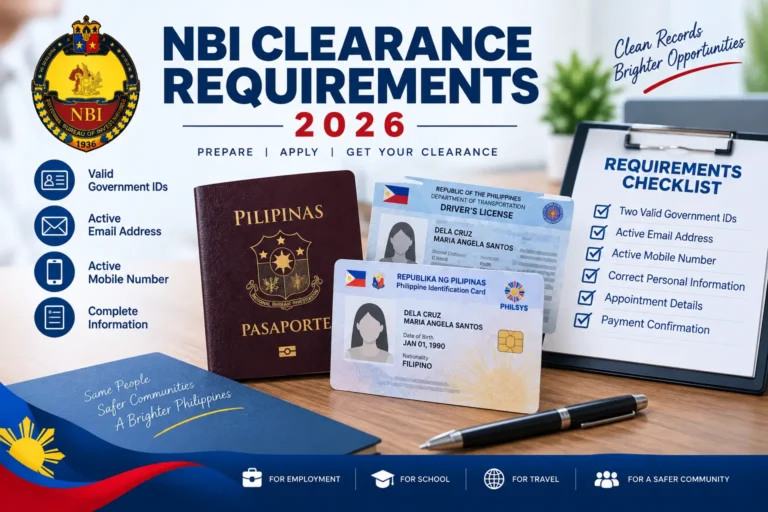
Before leaving for your appointment, make sure you have:
- Required original government-issued IDs
- Your NBI transaction or Reference Number
- Payment confirmation or receipt
- Your appointment details
The NBI’s current Citizen’s Charter states that applicants should bring two valid government-issued IDs for processing.
For the full list of accepted IDs:
What Happens at the NBI Clearance Center?
Once you arrive at the selected branch, the NBI completes the in-person part of your application.
The process includes:
Identity check → Photograph → Fingerprints → Electronic signature → Data verification
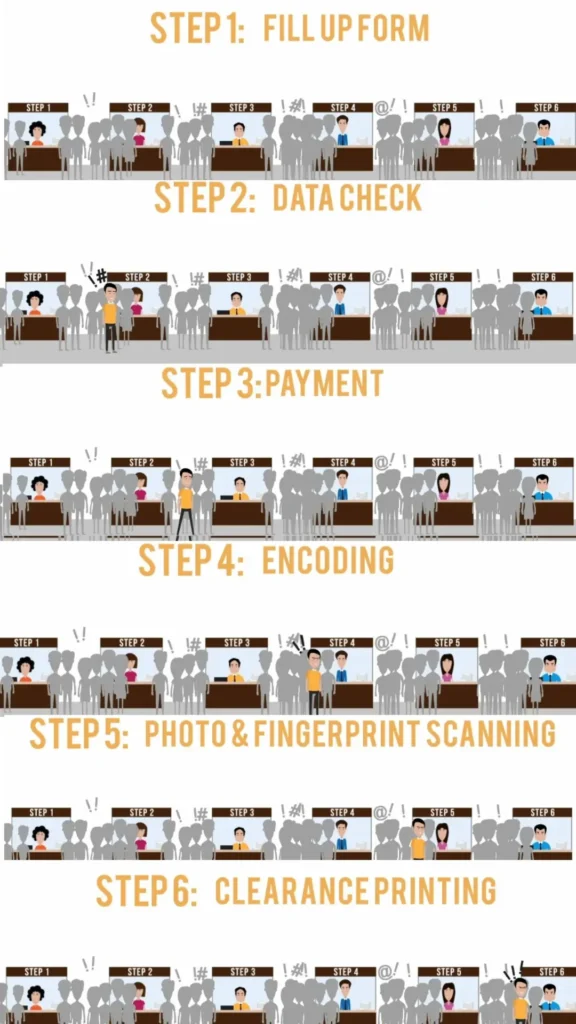
The NBI’s Citizen’s Charter specifically identifies fingerprint, image, and signature capture as part of clearance processing.
You may also be asked to review your information before the clearance is printed, so check the details carefully.
What If There Is No Available Appointment?
If your preferred branch does not have a suitable time slot, check other clearance centers in the system.
You can also use the official NBI Office Locator to find other offices near you.
Don’t create a new application or make another payment just because your preferred branch has no available schedule. First, check if another center has a suitable slot for your existing transaction.
Can You Change or Miss an NBI Appointment?
If you cannot attend your scheduled appointment, first check your appointment and transaction details through the official NBI system.
Keep your Reference Number and payment details ready when checking your application.
If you have already paid, don’t make another payment right away. First, check the status of your original transaction to make sure the payment was recorded.
→ NBI Appointment Problems & Missed Appointments
What Happens After Your Appointment?
After your branch visit, the NBI processes your biometric information and checks your records.
If there is no additional verification required, your clearance can proceed to release.
If your application receives a HIT, additional verification may be necessary before the certificate is released.
→ What Is an NBI Clearance HIT?
We don’t need to explain the complete HIT process here because that belongs on the dedicated HIT page.
NBI Appointment for First-Time Job Seekers
If you qualify as a first-time job seeker, check the dedicated first-time job seeker process before paying the standard fee.
The NBI has a separate First-Time Jobseekers Portal and its Citizen’s Charter lists specific requirements for applicants claiming the benefit under RA 11261.
→ NBI Clearance for First-Time Job Seekers
NBI Appointment Tips
A few simple checks can make your branch visit easier:
- Choose a clearance center that is convenient to reach.
- Check the date and time before confirming.
- Save your Reference Number.
- Keep your payment confirmation.
- Bring the required original IDs.
- Check the branch information before leaving.
NBI offices do not all have identical operating hours. The official NBI office directory currently shows different schedules by location, so check the details for your selected center rather than assuming every branch follows the same hours.
Frequently Asked Questions
Official NBI Appointment Resources
NBI Clearance Portal
Official NBI Clearance Portal