NBI Clearance Application 2026 | How to Apply
If you’re applying for a job, getting a visa, or need the document for another official purpose, you may need an NBI Clearance. To make the process easier for the public, the National Bureau of Investigation now lets applicants complete most of the application online from home. You can fill in your details, book an appointment, and pay the fee before visiting the branch for your fingerprints and photo.
This guide covers everything from creating your account and filling out the application to booking an appointment, paying the fee, and getting your certificate. If this is your first time applying, you can follow each step below.
How to Apply for an NBI Clearance
The process starts online and ends with a short visit to your nearest branch that you chose. Before you begin your nbi application , you must have an active mobile number, email address, and the required valid IDs ready.
1. Register or Log In
Go to the official NBI clearance portal and create an account if you’re a new applicant. If you already have an account, simply log in with your existing details.
Here you will use an active mobile number and email address during registration, as you will receive an OTP and other application updates on that mobile number.
Make sure you use the official NBI portal and avoid third-party websites or agents offering to submit the application for you.
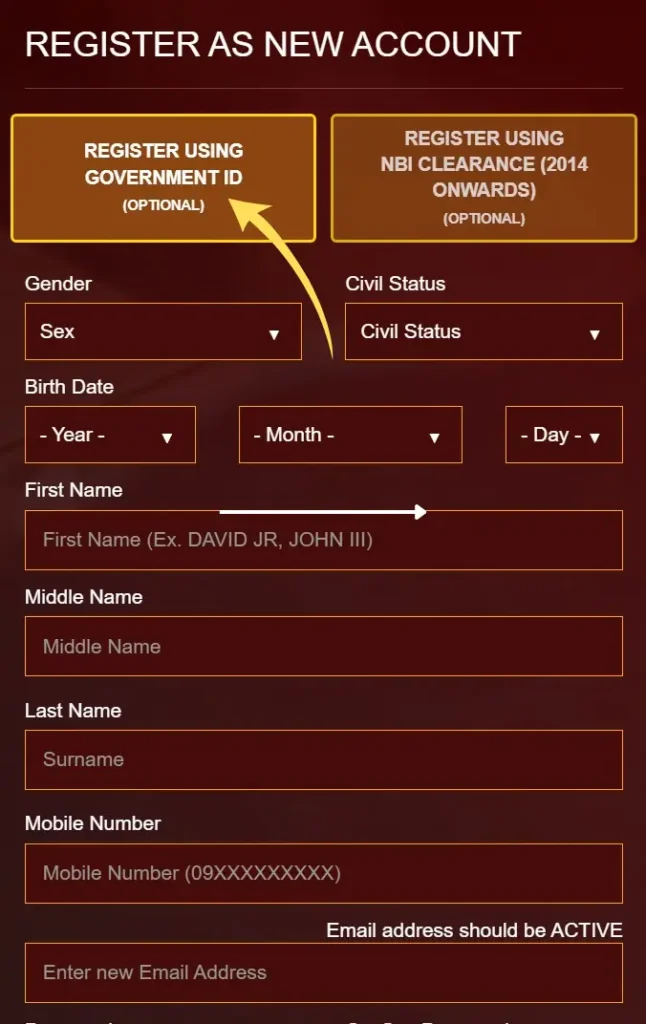
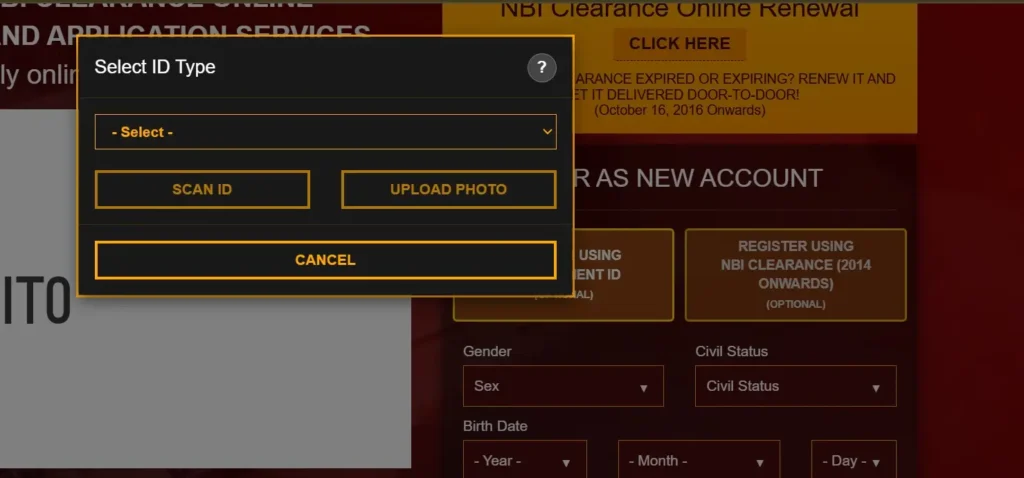
→ Read the NBI Online Registration Guide
2. Complete Your Applicant Information
Once you log in, fill out the Applicant Information Form with your personal details and other required information. Make sure everything matches your valid National ID documents, especially your name and date of birth.
Before you save the form, check your details carefully. Even a small mistake can cause problems later or require you to correct your information.
3. Apply for Clearance
Once your profile is complete, click Apply for Clearance in your account.
You’ll be asked to select the valid government-issued ID you plan to bring when you visit the branch. Make sure you choose an ID that you can bring with you on your appointment day.
If you’re not sure which IDs are accepted, check the requirements before continuing your application process.
→ See NBI Clearance Requirements
4. Select a Clearance Center
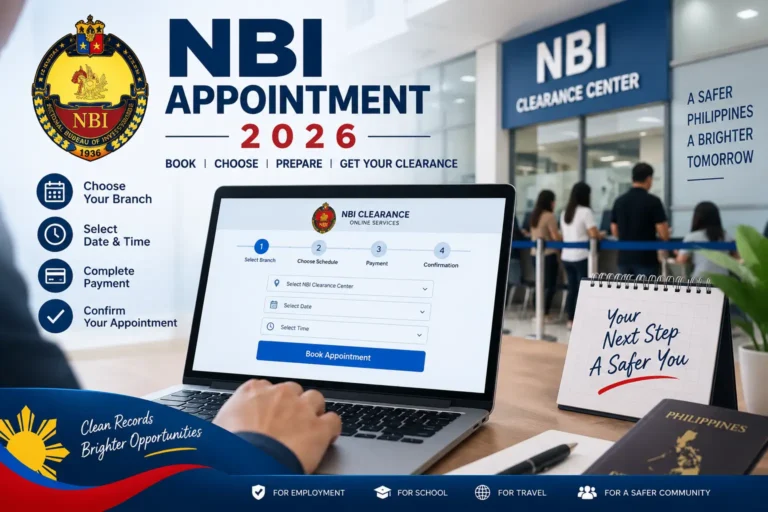
Now choose the branch where you want to complete the in-person part (finger prints and photo) of your application.
You can use the official Clearance Office Locator to find a center near you. Always prefer a location that is convenient to reach, as your fingerprints, photo, and identity verification will be completed there.
5. Choose Your Appointment Schedule
After selecting a branch, choose an available date and time for your visit.
Before confirming, check the clearance center, appointment date, and time to make sure everything is correct.
You’ll visit the branch on this date to complete the in-person part of your application.
→ Read the NBI Appointment Guide
6. Pay the Required Fee
Once your application and appointment are set, choose a payment method available through the system.
You can use options such as GCash, Maya, 7-Eleven, Bayad Center, or online banking. After choosing your payment method, you’ll receive a reference number for the transaction.
Keep your payment confirmation and reference number until the application has been completed.
→ See NBI Clearance Fees & Payment Options
→ How to Pay NBI Clearance Using GCash
7. Visit the Branch for Biometrics
Now go to your selected NBI Clearance Center according to your appointment details.
At the branch, the NBI captures the biometric information required for the clearance, including your:
- Photograph
- Fingerprints
- Electronic signature
The NBI’s application guide also describes a data-verification step where applicants can review their information before the clearance is printed.
Bring your required original identification documents and the relevant transaction details with you.
8. Wait for Verification and Clearance Release
After your information and biometrics have been processed, the NBI checks the application against its records.
If there is no HIT, the clearance can proceed to release after processing.
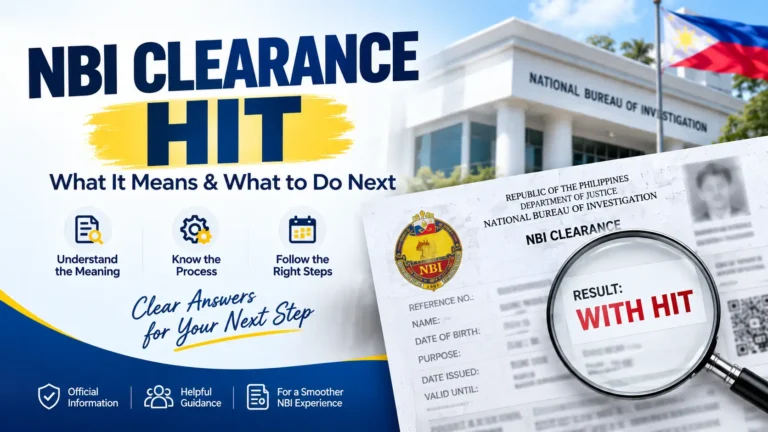
If your name produces a HIT, additional verification may be required before the certificate is released. A HIT does not automatically mean that the record belongs to you; it means more time for checking and verification of people with similar names is required.
What Do You Need to Apply?
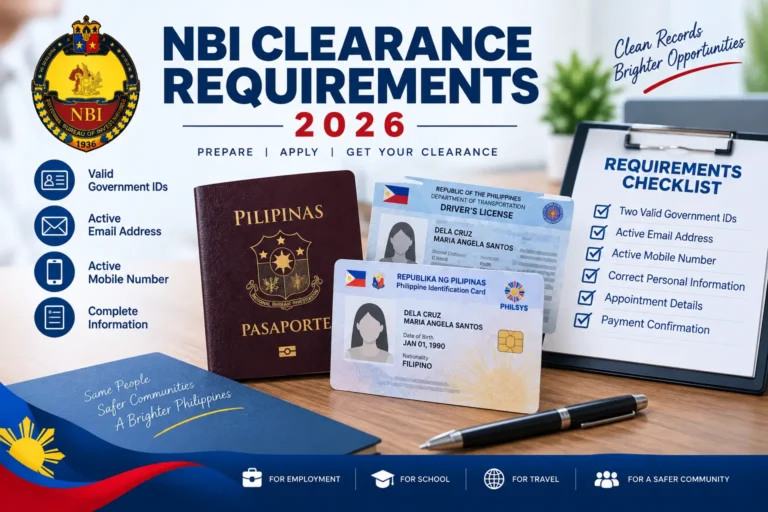
Before starting your application, prepare:
- An active email address
- An active mobile number
- Required valid government-issued IDs
- Your personal information
- A payment method for the transaction
The current NBI application guide states that applicants should bring two valid government-issued IDs for the branch appearance. The NBI lists examples such as a passport, driver’s license, National ID, UMID, and Postal ID.
For the complete document list:
→ NBI Clearance Requirements & Accepted IDs
What Information Do You Enter in the Application?
Your NBI profile contains the information required to process your clearance application.
Depending on the field, this can include:
- Personal information
- Family background
- Education
- Employment information
- Contact details
- Address and other identifying information
Enter the information carefully and make sure it agrees with your identification documents. The official NBI guide specifically advises applicants to check the spelling and accuracy of their information before saving the profile.
What Happens After You Submit the Application?
Your application follows this general path:
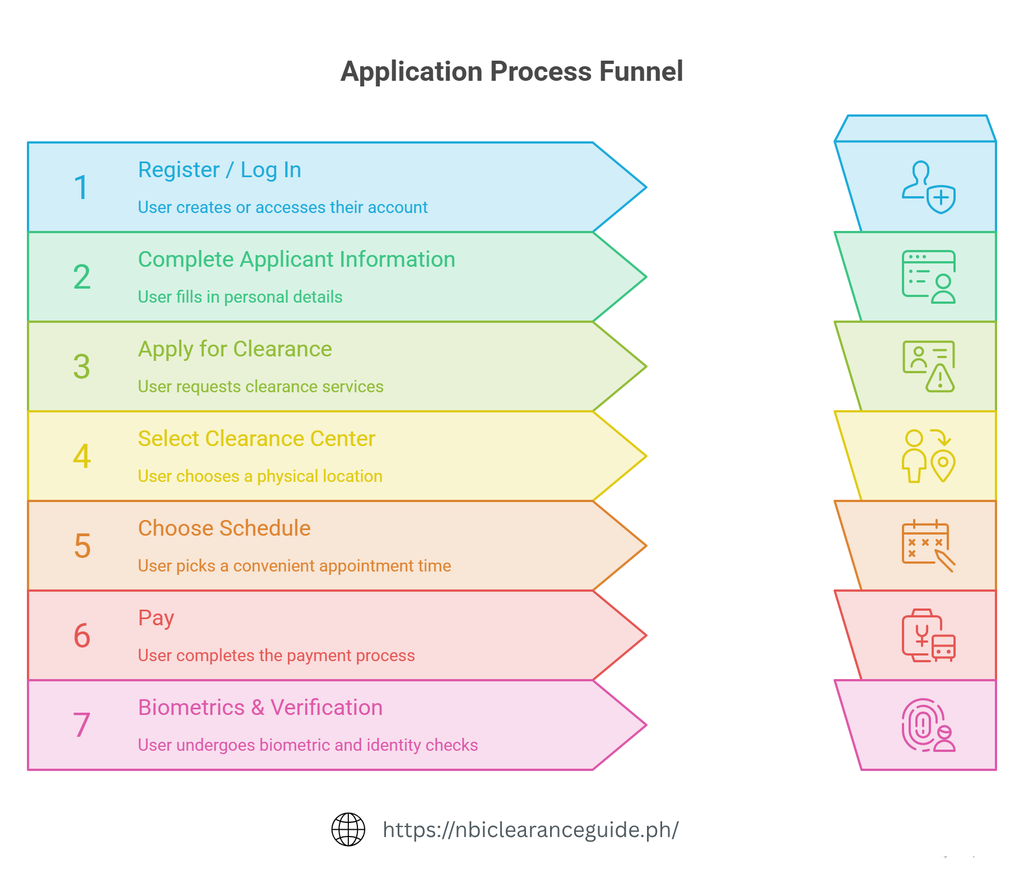
The online portion lets you prepare the transaction before going to the branch. The physical visit is where the NBI completes the required biometric and identity-verification steps.
What If Your Application Has a HIT?
A HIT means the NBI system has identified a possible matching record that requires further verification.
It does not by itself establish that the record belongs to you. The NBI may need additional time to verify the applicant’s identity and records before releasing the clearance.
→ NBI Clearance HIT: What It Means and What to Do
First-Time Job Seekers
If you are applying as a qualified first-time job seeker, check the separate NBI process before making a standard payment.
The NBI currently directs first-time job seekers who want to avail themselves of the benefit under Republic Act No. 11261 to its dedicated First-Time Jobseekers Portal.
→ NBI Clearance for First-Time Job Seekers
Common Application Mistakes to Avoid
A few simple checks can prevent unnecessary delays:
- Use an active email address and mobile number.
- Enter your name exactly as shown on your identification document.
- Review your date of birth and other personal details before saving.
- Select the correct NBI Clearance Center.
- Check your appointment details before confirming.
- Keep your payment reference number.
- Bring the required original IDs to your branch visit.